
 Google Calendar
  Outlook Calendar
  Google Meet
  Microsoft Teams
  Zoom Meetings
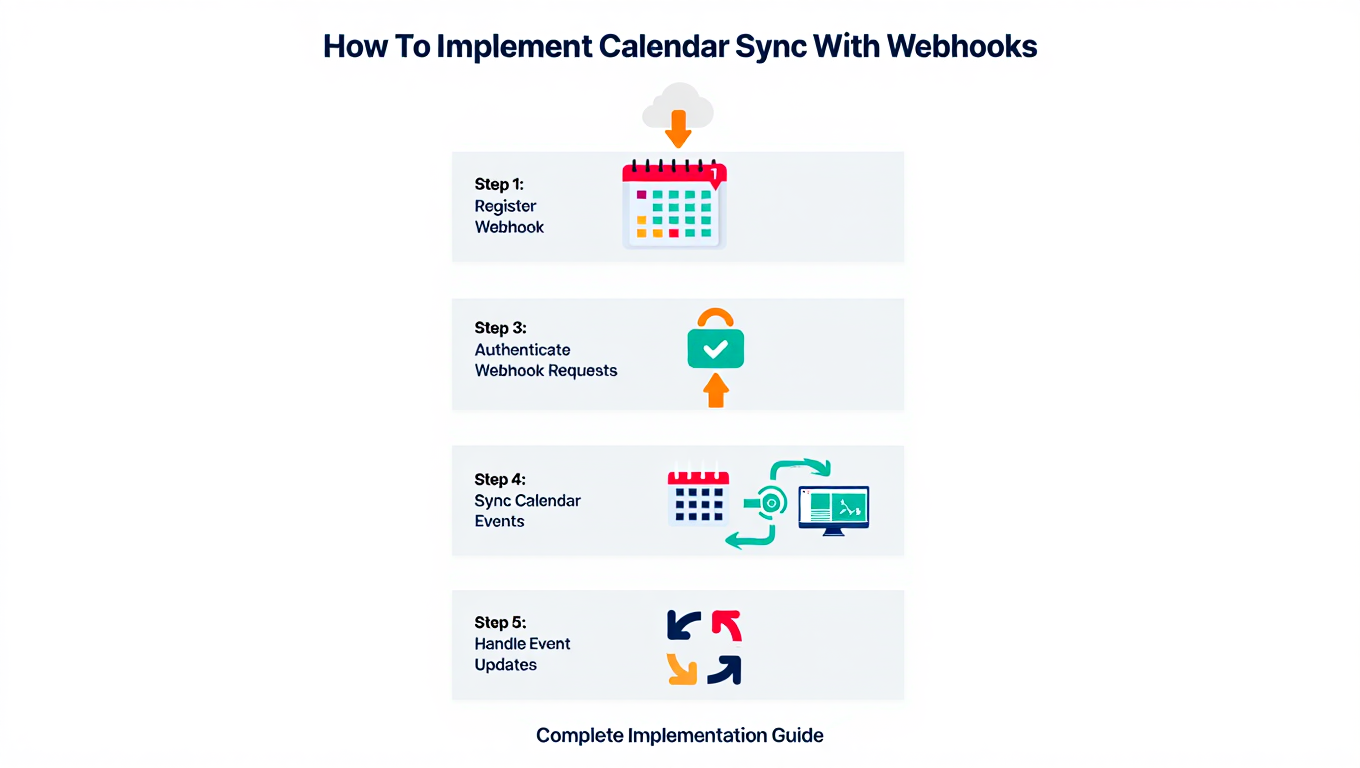
 How To Implement Calendar Sync With Webhooks: Step-by-Step Developer Guide
Complete implementation tutorial for calendar sync with webhooks. Code examples, best practices, and production patterns for Google Calendar and Microsoft Graph.
Your development team just estimated four weeks to build calendar synchronization with real-time updates. The implementation involves webhook endpoints, subscription management, retry logic, state synchronization, and error handling across multiple calendar providers. Meanwhile, urgent feature requests are piling up and competitors are shipping faster.
Implementing calendar sync with webhooks requires more than registering a callback URL. Production-ready implementations handle subscription lifecycle management, process minimalistic notifications that don't include event details, manage concurrent updates with idempotent processing, and maintain synchronization state across webhook deliveries and API responses. This guide provides step-by-step instructions with production-ready code examples that address these real-world requirements. For broader architectural context, see our complete webhook architecture guide.
- Secure HTTPS webhook endpoint that receives calendar notifications
- Google Calendar webhook integration with Channel management
- Microsoft Graph webhook integration with subscription handling
- Incremental sync processing using sync tokens and delta queries
- Production patterns including retry logic, idempotency, and error handling
Prerequisites for Calendar Sync With Webhooks
Before implementing calendar sync with webhooks, ensure you have the necessary accounts, credentials, and infrastructure components.
Required Accounts and Credentials
You need active developer accounts with the calendar providers you plan to integrate. For Google Calendar, create a project in the Google Cloud Console and enable the Google Calendar API. Generate OAuth 2.0 credentials (client ID and client secret) with scopes including https://www.googleapis.com/auth/calendar.readonly for read-only access or https://www.googleapis.com/auth/calendar.events for full event management.
For Microsoft Graph, register an application in the Azure Active Directory portal. Configure API permissions including Calendars.Read or Calendars.ReadWrite depending on your requirements. Generate a client secret and note your application (client) ID and tenant ID.
Both providers require OAuth 2.0 authentication. Your application must implement the OAuth flow to obtain access tokens and refresh tokens for each user who connects their calendar. Store these tokens securely with encryption, as they provide access to sensitive calendar data.
Infrastructure Requirements
Calendar sync with webhooks requires a publicly accessible HTTPS endpoint that calendar providers can reach to deliver notifications. Your webhook endpoint must use a valid SSL certificate from a trusted certificate authority. Self-signed certificates will cause webhook validation failures with both Google Calendar and Microsoft Graph.
If you're developing locally, you need a tunneling service like ngrok to expose your local development server to the internet. Production deployments typically use cloud platforms like AWS, Google Cloud, Azure, or Heroku that provide HTTPS endpoints by default.
Your infrastructure should include a database for storing subscription metadata, sync tokens, and calendar event data. PostgreSQL, MySQL, or MongoDB work well for this purpose. For high-volume applications, consider adding a message queue like Redis, RabbitMQ, or AWS SQS to decouple webhook receipt from event processing. Understanding real-time calendar synchronization requirements helps inform your infrastructure decisions.
Plan for webhook endpoint response times under three seconds for Google Calendar and five seconds for Microsoft Graph according to Microsoft Graph API documentation. This typically requires asynchronous processing where your endpoint acknowledges receipt immediately, then processes notifications in background workers.
- Valid HTTPS endpoint with trusted SSL certificate
- OAuth 2.0 credentials for target calendar providers
- Database for storing subscriptions and sync state
- Development environment with Node.js, Python, or preferred language
- Understanding of OAuth 2.0 authentication flow
Step 1: Create Your Webhook Endpoint
Your webhook endpoint serves as the receiver for calendar change notifications. This endpoint must respond quickly, validate requests, and queue notifications for processing.
Basic Webhook Handler Structure
Create an HTTP endpoint that accepts POST requests from calendar providers. Your webhook handler should perform several critical operations:
First, extract webhook-specific headers that identify the subscription and notification type. For Google Calendar, these include the channel ID, resource state, and channel token headers. Validate that the notification corresponds to an active subscription in your database, preventing malicious or orphaned notifications from consuming resources.
Next, verify the channel token matches what you stored during subscription creation. This ensures the notification originated from a legitimate source. Handle the special "sync" notification type that Google sends during initial channel setup by responding with a simple acknowledgment.
For actual change notifications, queue the notification data for asynchronous processing. Include the subscription ID, channel ID, resource state, and receipt timestamp in the queued message. This allows your system to respond immediately to meet provider timeout requirements (within 3 seconds for Google Calendar), then process the notification in a background worker.
Your endpoint should return HTTP 200 status with a simple acknowledgment message for successfully received notifications. Handle errors gracefully by logging them and returning appropriate HTTP 500 status codes to indicate temporary failures that the provider may retry.
Handling Microsoft Graph Validation
Microsoft Graph requires endpoint validation during subscription creation. When you create a subscription, Microsoft sends a validation request that your endpoint must handle correctly.
Your endpoint should check for a validationToken query parameter in incoming requests. When present, extract this token and return it in the response body with an HTTP 200 status code and text/plain content type within 10 seconds. This validation handshake confirms your endpoint is ready to receive notifications. After successful validation, Microsoft begins sending actual change notifications.
For actual notification processing, Microsoft Graph sends notifications in batches with a value array containing multiple change notifications. Your handler must iterate through this array and process each notification individually. Each notification includes properties like subscriptionId, changeType (created, updated, or deleted), resource path, and the clientState value you provided during subscription creation.
Queue each notification for asynchronous processing with all relevant metadata including subscription ID, change type, resource path, client state, and receipt timestamp. Return HTTP 202 status to acknowledge receipt without waiting for processing to complete.
Security Validation
Implement additional security checks to prevent unauthorized webhook deliveries. Your validation logic should verify provider-specific security tokens and ensure subscriptions haven't expired.
For Microsoft Graph notifications, verify the clientState value in the notification payload matches the clientState you stored when creating the subscription. This random value acts as a secret that confirms the notification came from a legitimate subscription you created.
For Google Calendar notifications, verify the channel token in the x-goog-channel-token header matches the token you stored during channel creation. This prevents unauthorized parties from sending fake notifications to your endpoint.
Additionally, check that the current time hasn't exceeded the subscription's expiration timestamp. Reject notifications for expired subscriptions to prevent processing stale or orphaned webhook deliveries.
Implement these validation checks in a dedicated function that runs before queuing notifications for processing. Return validation errors with appropriate HTTP status codes (403 for invalid tokens, 410 for expired subscriptions) to inform the provider about why the notification was rejected.
Step 2: Implement Google Calendar Webhook Integration
Google Calendar webhooks use a system called Push Notifications or Channels. This section walks through creating channels, processing notifications, and retrieving event changes.
Creating a Google Calendar Channel
When a user connects their Google Calendar to your application, create a webhook subscription by establishing a Channel with Google's API.
Begin by generating two unique identifiers: a channel ID (using UUID format) and a verification token (using cryptographically secure random bytes). These identifiers will authenticate notifications from Google.
Call Google's events.watch endpoint using the Google Calendar API client library. Provide the calendar ID you want to monitor, your user's access token, and a request body containing the channel configuration. In the request body, specify the channel ID, type as "web_hook", your webhook endpoint address, the verification token, and an expiration timestamp.
Set the expiration parameter to seven days in the future (the typical maximum Google allows). This ensures predictable channel lifecycle management. Without an explicit expiration, Google sets one automatically with unpredictable timing, making renewal scheduling more difficult.
Google responds with a resourceId that uniquely identifies their side of the subscription. Store both your channel ID and Google's resource ID in your database, along with the user ID, provider identifier, calendar ID, verification token, expiration timestamp, and creation timestamp. You'll need the resource ID later to stop the channel properly.
After successfully creating the channel, immediately perform an initial synchronization to capture the baseline calendar state and obtain a sync token for future incremental updates.
Performing Initial Synchronization
After creating the webhook channel, immediately perform a full synchronization to capture existing calendar events and obtain a sync token.
Call the Google Calendar events.list endpoint with the calendar ID and user's access token. Set maxResults to 250 (the maximum allowed) to minimize API calls, and configure singleEvents to true and orderBy to 'startTime' for predictable event ordering.
The API response may include a nextPageToken if more events exist beyond the first page. Implement pagination by repeatedly calling events.list with the pageToken parameter until no nextPageToken is returned, accumulating all events across requests.
The final API response includes a nextSyncToken property that represents the calendar state after retrieving all these events. This sync token is critical for incremental synchronization. Store it securely in your database associated with the user and calendar ID.
Also store all retrieved events in your database to establish the baseline calendar state. You'll use this local copy to detect changes when processing future webhook notifications.
This sync token will be used later to retrieve only events that changed since this initial sync, dramatically reducing data transfer and processing time compared to repeatedly fetching all events.
Processing Google Calendar Webhook Notifications
When your webhook endpoint receives a notification from Google Calendar, process it by retrieving incremental changes using the stored sync token.
Retrieve the subscription record from your database using the channel ID from the notification. Then fetch the stored sync token associated with that user and calendar. Also obtain a fresh access token for the user to authenticate the API call.
Call the Google Calendar events.list endpoint, but this time pass the sync token instead of pagination parameters. Google returns only events that changed since that token was issued, dramatically reducing data transfer and processing time compared to full synchronization. For maintaining bidirectional calendar sync, this incremental approach prevents circular update loops.
The response contains changed events and a new sync token. Iterate through the changed events and handle each based on its status. Events with status set to 'cancelled' represent deletions and should be removed from your database. All other events represent creations or updates and should be upserted (updated if they exist in your database, inserted if they're new).
After processing all events, store the new sync token from the response, replacing the previous one. Your next webhook notification will use this updated token, maintaining the incremental synchronization chain.
Implement error handling for 410 status codes, which indicate the sync token is invalid or expired. This can happen if too much time passes between sync operations or if the calendar experienced significant changes. When encountering a 410 error, perform a fresh initial sync to re-establish baseline state and obtain a new valid sync token.
Managing Channel Expiration and Renewal
Google Calendar channels expire approximately one week after creation. Implement proactive renewal to maintain continuous synchronization.
Run a scheduled job (such as hourly or every few hours) that queries your database for channels expiring within the next 24 hours. For each expiring channel, implement a two-step renewal process.
First, stop the old channel using Google's channels.stop endpoint. Provide both the channel ID and resource ID in the request body along with the user's access token. This properly terminates the existing subscription on Google's side.
Second, create a new channel by calling your channel creation function with the same user ID, access token, and calendar ID. This establishes a fresh subscription with a new expiration timestamp seven days in the future.
After successfully creating the new channel, delete the old subscription record from your database. Handle renewal failures gracefully by logging errors and implementing retry logic or alerting operations personnel.
Stopping channels properly prevents orphaned subscriptions that consume API quota or cause errors. Always stop channels when users disconnect calendars, when replacing expired channels, or when your application shuts down.
Step 3: Implement Microsoft Graph Webhook Integration
Microsoft Graph provides webhook notifications through its change notifications system. This implementation differs from Google Calendar in subscription management, validation, and notification processing.
Creating a Microsoft Graph Subscription
Establish a webhook subscription for a user's calendar events by calling the Microsoft Graph subscriptions endpoint.
Generate a random clientState value using cryptographically secure random bytes converted to hexadecimal format. This secret value will authenticate notifications from Microsoft Graph.
Make an HTTP POST request to the Microsoft Graph subscriptions endpoint at https://graph.microsoft.com/v1.0/subscriptions. Include an Authorization header with the user's Bearer access token and set Content-Type to application/json.
In the request body, specify the subscription configuration. Set changeType to 'created,updated,deleted' to receive notifications for all event modifications. This ensures your application learns about new events, updates to existing events, and deletions.
Need better calendar management? CalendHub unifies all your calendars with smart scheduling and video conferencing.
Define what to monitor using the resource property. For calendar events, use the path /users/{userId}/calendars/{calendarId}/events. For monitoring the default calendar, you can use /users/{userId}/events or /me/events as a shorthand.
Set the notificationUrl to your webhook endpoint address. Microsoft Graph will validate this endpoint during subscription creation by sending a validation request that your endpoint must handle correctly (as implemented in Step 1).
Include your generated clientState value in the request. Microsoft Graph returns this value in every notification, allowing you to verify notifications originated from your legitimate subscriptions.
Set expirationDateTime to three days in the future (the maximum allowed for calendar resources). Calculate this by adding 3 days worth of milliseconds to the current timestamp and converting to ISO 8601 format.
Microsoft Graph responds with a subscription object containing a unique subscription ID and the confirmed expiration timestamp. Store this subscription metadata in your database along with the user ID, provider identifier, calendar ID, clientState, expiration timestamp, and creation timestamp.
After successfully creating the subscription, immediately perform an initial delta query to capture baseline calendar state and obtain a delta link for future incremental updates.
Performing Microsoft Graph Initial Sync
Microsoft Graph uses delta queries for incremental synchronization. Perform an initial delta query to capture existing events and obtain a delta link.
Start by constructing the delta query URL in the format https://graph.microsoft.com/v1.0/users/{userId}/calendars/{calendarId}/events/delta. Make an HTTP GET request to this URL with an Authorization header containing the user's Bearer access token.
Microsoft Graph returns events in the response body's value array. The response may also include an @odata.nextLink property if more events exist beyond the first page. This works similarly to pagination in Google Calendar.
Implement a loop that continues making requests as long as a nextLink exists. On each iteration, make a GET request to the nextLink URL (which includes cursor tokens for pagination) and accumulate all returned events.
When you receive a response without a nextLink, check for an @odata.deltaLink property. This special URL represents the current calendar state after retrieving all events. The delta link is critical for incremental synchronization.
Store the delta link URL securely in your database associated with the user and calendar ID. Unlike Google's sync tokens which are simple strings, Microsoft's delta links are full URLs that you'll call directly in future sync operations.
Also store all retrieved events in your database to establish baseline calendar state. This completes the initial synchronization process and prepares your system for processing incremental changes via webhook notifications.
Processing Microsoft Graph Webhook Notifications
Microsoft Graph webhook notifications include the subscription ID and change type but not the actual event data. Retrieve changes by calling the stored delta link.
Retrieve the subscription record from your database using the subscription ID from the notification. Fetch the stored delta link associated with that user and calendar, and obtain a fresh access token for authentication.
Make an HTTP GET request to the stored delta link URL with an Authorization header containing the user's Bearer token. Microsoft Graph returns only events that changed since the last delta query, implementing efficient incremental synchronization.
The response contains a value array with changed events and may include a new @odata.deltaLink property. Iterate through the changed events and handle each based on its properties.
Events with an @removed property set to true indicate deletions. Remove these events from your database by their event ID. All other events represent creations or updates and should be upserted to your database (updated if they exist, inserted if they're new).
After processing all events, check if the response includes a new delta link. If present, store this new delta link in your database, replacing the previous one. This maintains the incremental synchronization chain for future webhook notifications.
Implement error handling for 410 status codes, which indicate the delta link has expired or become invalid. This can happen if too much time passes between calls or if the calendar experiences substantial changes. When encountering a 410 error, perform a fresh initial delta query to re-establish baseline state and obtain a new valid delta link.
Renewing Microsoft Graph Subscriptions
Unlike Google Calendar channels, Microsoft Graph allows subscription renewal through PATCH operations rather than requiring recreation.
Run a scheduled job multiple times daily that queries your database for Microsoft Graph subscriptions expiring within the next 12 hours. Microsoft Graph subscriptions for calendar resources expire after a maximum of three days, so frequent checks ensure continuous synchronization.
For each expiring subscription, obtain a fresh access token for the user. Calculate a new expiration timestamp three days in the future and convert it to ISO 8601 format.
Make an HTTP PATCH request to https://graph.microsoft.com/v1.0/subscriptions/{subscriptionId} with an Authorization header containing the user's Bearer token. Include a request body with the single property expirationDateTime set to your calculated new expiration.
This PATCH operation extends the subscription's lifetime without requiring recreation, which is more efficient than Google Calendar's approach of stopping and recreating channels.
After Microsoft Graph confirms the renewal, update the expiration timestamp in your local database subscription record to reflect the new expiration time.
Handle renewal failures gracefully. If you receive a 404 status code, the subscription may have been deleted by Microsoft (due to prolonged inactivity, user revocation, or other reasons). In this case, delete the stale subscription record from your database and create a fresh subscription by calling your subscription creation function. This recreates the webhook subscription and re-establishes notifications.
Step 4: Implement Idempotent Processing
Webhook notifications may be delivered multiple times due to network retries, provider-side duplicates, or processing failures. Your processing logic must handle duplicate notifications without creating data inconsistencies.
Tracking Processed Notifications
Implement a tracking system that records which notifications have been processed successfully.
Generate a unique identifier for each notification by creating a cryptographic hash (SHA-256) of key notification properties including subscription ID, resource state, and receipt timestamp. Serialize these properties to JSON format, then compute the hash and convert to hexadecimal string.
Before processing any notification, query your database to check if this hash already exists in your processed notifications table. If the hash is found, the notification has been processed previously. Return immediately with a duplicate indicator without repeating the processing logic. This prevents duplicate processing that could cause data inconsistencies.
If the notification hasn't been processed, record the processing attempt in your database with the hash, notification details, and current timestamp. Then perform the actual webhook notification processing.
After successful processing, mark the notification as completed in your database with the processing result and completion timestamp. This creates an audit trail of successfully processed notifications.
If processing fails with an exception, record the failure in your database with the error details. This allows your retry logic to identify failed notifications that need reprocessing.
Store processed notification identifiers with timestamps. Consider implementing automatic cleanup of old records (older than seven days) to prevent unbounded table growth while maintaining recent history for duplicate detection.
Database Transaction Patterns
Wrap related database operations in transactions to ensure atomic updates when processing webhook notifications.
Acquire a database client connection and begin a transaction before processing any event changes. This ensures all related operations succeed or fail together as a single atomic unit.
Within the transaction, iterate through each changed event. For deleted events (identified by cancelled status or @removed property), execute a DELETE query to remove the event from your events table by user ID and event ID.
For created or updated events, use an INSERT query with an ON CONFLICT clause to implement upsert behavior. Specify all event fields including user ID, calendar ID, event ID, event data (serialized as JSON), and updated timestamp. The ON CONFLICT clause handles the case where the event already exists by updating the data and timestamp instead of failing with a constraint violation. This single query handles both new events and updates to existing events.
After processing all events, update the sync token or delta link in your calendar sync state table atomically with the event changes. This critical step ensures your synchronization state remains consistent with your event data.
Commit the transaction after all operations complete successfully. If any operation fails, catch the error and roll back the entire transaction. This prevents inconsistent state where events are updated but the sync token remains old, or vice versa.
Always release the database client connection in a finally block to prevent connection leaks, regardless of whether processing succeeded or failed.
Handling Concurrent Modifications
When multiple webhook notifications arrive nearly simultaneously for related changes, implement optimistic concurrency control to detect and handle conflicts.
Enhance your events table schema to include a version number column that increments with each update. This allows detection of conflicting concurrent modifications.
When inserting a new event, set the initial version to 1 along with the current timestamp. For updates to existing events, use an INSERT query with an ON CONFLICT clause that conditionally updates only if the incoming event timestamp is newer than the stored timestamp.
The ON CONFLICT clause should increment the version number and update the event data and timestamp, but include a WHERE condition that compares timestamps. This ensures updates only occur when the incoming event is actually newer than what's currently stored.
Use a RETURNING clause to get the updated version number from the query. Check the row count returned by the query. If zero rows were affected, it means your local database already contains a newer version of the event based on the timestamp comparison, and the update was skipped.
This pattern implements last-write-wins conflict resolution based on event timestamps from the calendar provider. It prevents overwriting recent changes with stale data when notifications arrive out of order or when processing delayed notifications after fresher data has already been stored.
Log cases where updates are skipped due to newer local versions for monitoring and debugging purposes.
Step 5: Implement Production Reliability Patterns
Production webhook systems require sophisticated error handling, retry logic, and monitoring to maintain reliable calendar synchronization.
Exponential Backoff for API Calls
When calling calendar provider APIs to retrieve event changes, implement exponential backoff to handle rate limits and temporary failures gracefully.
Wrap your API calls in a retry wrapper function that attempts the operation multiple times with increasing delays between attempts. Start with a maximum of 5 retries and an initial delay of 1 second.
When an API call fails, examine the error to determine if it's retriable. Retriable errors include HTTP 429 (rate limit exceeded), HTTP 500 or higher (server errors), ECONNRESET (connection reset), and ETIMEDOUT (request timeout). Permanent errors like HTTP 401 (authentication failure) or HTTP 400 (invalid request) should not be retried.
If the error is not retriable or you've exhausted all retry attempts, throw the error to the caller for handling.
For retriable errors, check if the API response includes a Retry-After header. This header indicates how many seconds to wait before retrying. If present, use this value instead of your calculated delay to respect the provider's rate limiting guidance.
Add jitter to your delay by generating a random value between 0% and 30% of the current delay and adding it to the wait time. This randomization prevents multiple failed requests from retrying simultaneously (thundering herd problem), distributing load when systems recover from outages.
After waiting, double the delay value for the next potential retry attempt. This exponential growth pattern (1s, 2s, 4s, 8s, 16s) gives systems progressively more time to recover from issues while limiting the total retry duration.
Dead Letter Queue Implementation
When notifications fail repeatedly despite retries, move them to a dead letter queue for manual inspection and recovery.
Track the number of processing attempts for each notification in your database. Set a maximum attempt threshold (such as 5 attempts) before considering a notification permanently failed.
Before processing each notification, check its attempt count. If the notification has reached or exceeded the maximum attempts, move it to a dead letter queue table instead of processing it again. Store the notification data, attempt count, last error message, and failure timestamp in the dead letter queue.
Send an alert to your operations team when notifications are moved to the dead letter queue. Include the notification ID, subscription ID, attempt count, and error details in the alert. This allows operations personnel to investigate and manually recover from the failure.
For notifications that haven't reached the maximum attempt threshold, increment the attempt counter before processing. If processing succeeds, clear the attempt counter for that notification.
If processing fails with an exception, record the error details in your database associated with the notification ID. Then requeue the notification for another processing attempt with an exponentially increasing delay. Calculate the delay as 2 raised to the power of the attempt number, multiplied by 60 seconds. This creates delays of 1 minute, 2 minutes, 4 minutes, 8 minutes, and 16 minutes for attempts 0 through 4.
This exponential delay pattern gives systems time to recover from transient issues without immediately retrying in a tight loop, while still attempting recovery multiple times before giving up.
Monitoring and Alerting
Implement comprehensive monitoring to detect webhook system issues before they impact users.
Maintain counters for key webhook metrics including total notifications received, notifications processed successfully, notifications that failed, and processing latency measurements. Store these in memory or a metrics aggregation system.
For each notification processed, record the start time before processing begins. After processing completes (successfully or with failure), calculate the latency by subtracting the start time from the current time.
Increment your received counter for every notification. If processing succeeded, increment the processed counter. If it failed, increment the failed counter. Add the latency measurement to your latency array for percentile calculations.
Send individual metric data points to your monitoring platform (DataDog, New Relic, CloudWatch, or similar) with relevant tags including provider type, subscription ID, and success status. This allows slicing metrics by different dimensions for troubleshooting.
Calculate failure rate by dividing failed notifications by total received notifications. If the failure rate exceeds a threshold (such as 10%), send an alert to operations indicating a high webhook failure rate with the current percentage.
Calculate latency percentiles from your latency measurements array. If the 95th percentile (P95) latency exceeds a threshold (such as 10 seconds), send an alert indicating elevated webhook processing latency.
Configure additional alerts for dead letter queue accumulation (notifications that exceeded retry limits), approaching subscription expirations (subscriptions expiring within hours), and sudden drops in notification volume (possible webhook delivery failures).
These early warnings help operations teams address issues proactively before users experience synchronization failures or delays.
Using CalendHub for Simplified Implementation
While implementing calendar sync with webhooks from scratch provides complete control, the complexity of subscription management, notification processing, retry logic, and multi-provider support requires substantial engineering effort and ongoing maintenance.
CalendHub.com provides fully managed calendar sync with webhooks that eliminates this implementation burden. When you connect calendars through CalendHub, the platform automatically establishes webhook subscriptions with Google Calendar, Microsoft Graph, and other providers, handling all the patterns described in this guide.
- Zero Webhook Infrastructure: No need to build, deploy, or maintain webhook endpoints
- Automatic Subscription Management: Channel creation, renewal, and expiration handling included
- Built-in Reliability: Retry logic, exponential backoff, and dead letter queues provided
- Multi-Provider Support: Same API works across Google Calendar, Outlook, and other providers
- Production Monitoring: Comprehensive dashboards show synchronization health and performance
CalendHub's unified API abstracts provider-specific webhook implementations. Your application simply connects calendars and reads synchronized event data, while CalendHub manages webhook subscriptions, processes notifications, handles incremental sync, and maintains synchronization state across all connected calendars.
For applications requiring real-time calendar synchronization without the engineering investment of building and operating production webhook infrastructure, CalendHub delivers webhook performance through a managed platform that scales automatically as your user base grows.
Conclusion
Implementing calendar sync with webhooks requires careful attention to subscription lifecycle management, notification processing, incremental synchronization, idempotent handling, and production reliability patterns. According to Stack Overflow's Developer Survey, developers rank webhook-based integration as significantly more challenging than traditional polling approaches, making comprehensive guides essential. This guide provided step-by-step instructions with production-ready code examples for Google Calendar and Microsoft Graph webhook integration.
The core implementation steps include creating secure webhook endpoints that respond within provider timeframes, establishing subscriptions with proper validation and security tokens, performing initial synchronization to capture baseline state and sync tokens, processing notifications by retrieving incremental changes through sync tokens or delta queries, and managing subscription renewal before expiration.
Production reliability demands additional patterns including idempotent processing to handle duplicate notifications safely, transactional updates that maintain data consistency, exponential backoff with jitter for API calls, dead letter queues for failed notifications requiring manual intervention, and comprehensive monitoring with alerts for failure rates and latency issues.
Google Calendar and Microsoft Graph offer robust webhook capabilities with different architectural approaches. Google's Channel system uses minimalistic notifications requiring follow-up API calls, while Microsoft Graph provides flexible notification types including rich notifications with embedded resource data. Both require careful state management and error handling to achieve production reliability.
For applications requiring real-time calendar synchronization, implementing these patterns from scratch represents a substantial engineering investment. Platforms like CalendHub.com provide fully managed webhook infrastructure that delivers instant calendar sync across multiple providers through a unified API, allowing your development team to focus on core product features rather than webhook implementation complexity.
Ready to add real-time calendar synchronization to your application without building webhook infrastructure? Explore how CalendHub.com delivers managed calendar sync with webhooks that scales automatically across Google Calendar, Microsoft Outlook, and other providers.
Ready to Simplify Your Schedule?
Join thousands of professionals who have unified their calendars and reclaimed their time with CalendHub's intelligent scheduling platform.
Related Articles
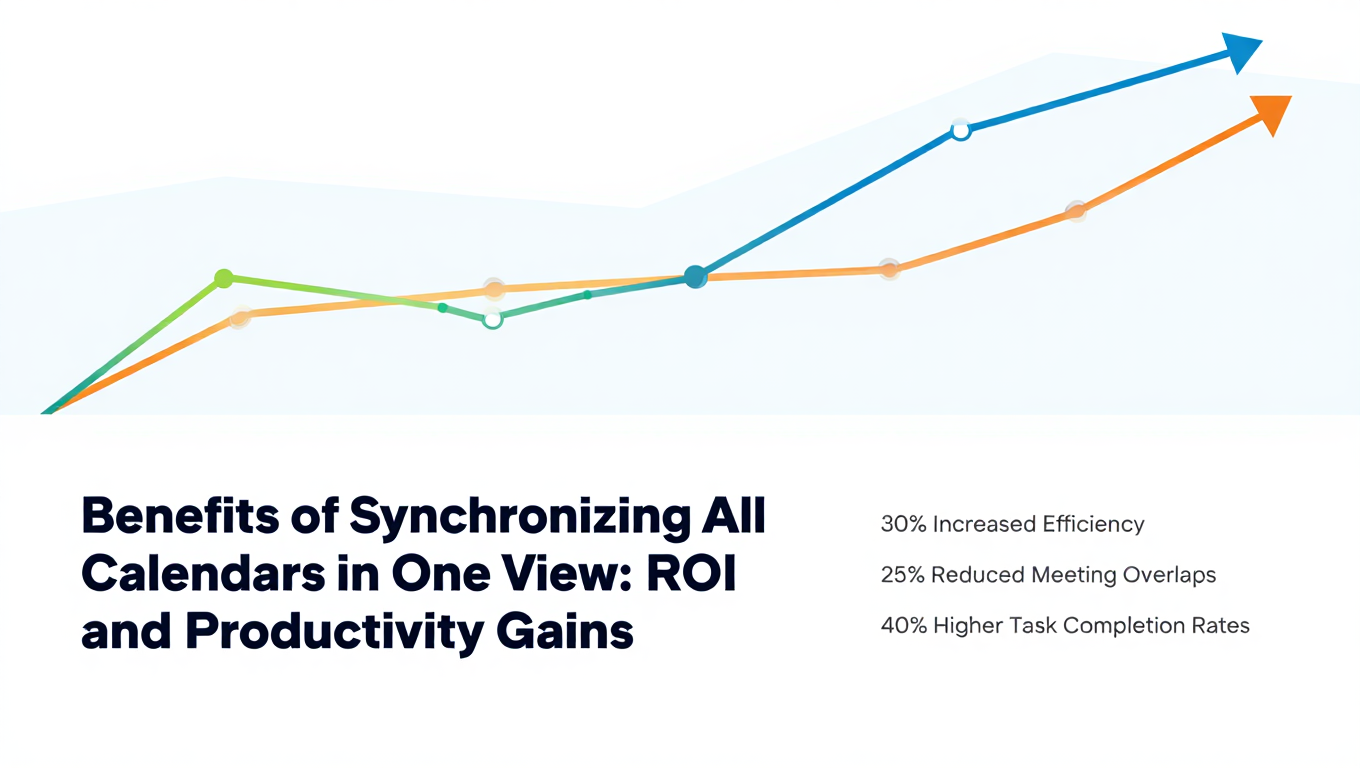
Benefits of Synchronizing All Calendars in One View: ROI and Productivity Gains
Discover the benefits of synchronizing all calendars in one view. See ROI data, productivity gains, reduced double bookings, and real-world business impact in 2025.
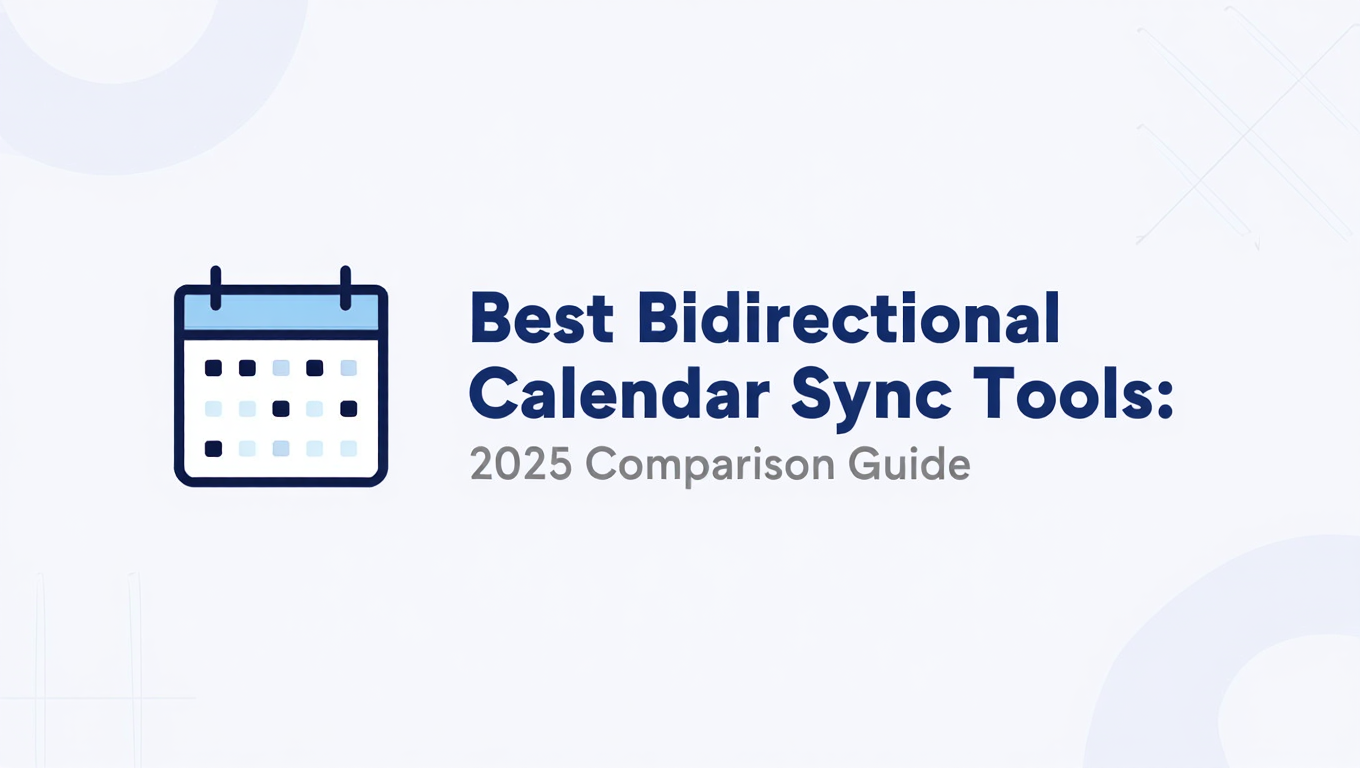
Best Bidirectional Calendar Sync Tools: 2025 Comparison Guide
Compare the best bidirectional calendar sync tools in 2025. Discover which platforms offer true two-way synchronization and which only provide one-way sync.
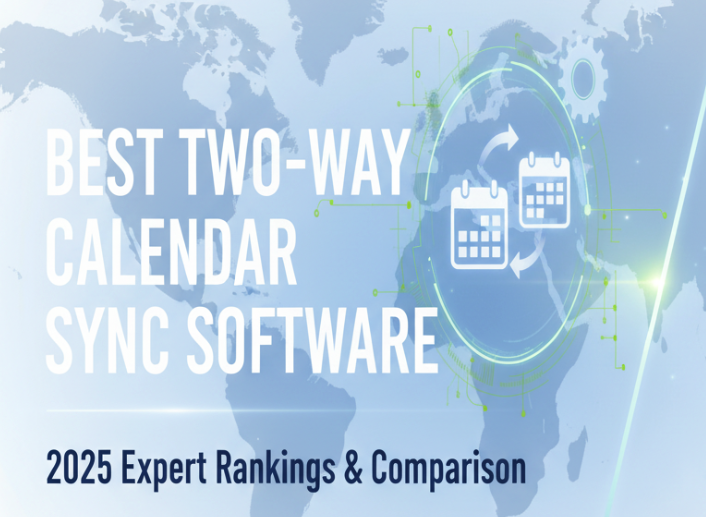
Best Two Way Calendar Sync Software: 2025 Expert Rankings & Comparison
Compare the top two-way calendar sync software tools. We tested 12 platforms for bidirectional sync speed, reliability, and field coverage to find which actually work.